
Thankfully, I had a toilet and sink in the basement to use while I was doing this, and the tub was functional throughout... but I am soooo looking forward to having a shower!!!
Which I plan on doing as soon as I have finished this post.
When I moved into this house the end of August, I knew I would have to do some repairs in the bathroom. It was obvious that the barker board that was used as a covering on the walls in the tub had not been properly adhered along the tub for a long time. With every shower, water had been wicking up into the drywall behind it.

But that was okay, because this was actually the only thing that needed addressing as soon as I moved in. Everything else is in good condition, even if the decor is dated.
Because I did most of this on my own, working around my work schedule at my paying job, it took quite a while. About 6 1/2 weeks to be exact. And there were a few days in there when I did absolutely nothing because I was tired! But whatever... it's my house and I'm the only one (besides Pips and Lila and they have their own "bathroom" in the furnace room) living here, so no one was put out by the destruction/construction zone that my house was for so long.
I wanted to do this as inexpensively as possible, because I do have a major bathroom expansion/reno planned for a few years down the road (big things like gutting the kitchen will happen first). So I kept the tub and the sink and vanity (which is only 18" wide and a hard to find size).

The old toilet did a piss poor (pun intended!) job of flushing so it got yanked. I now have a new (and smaller) dual flush much more economical toilet that works very nicely. So far, the cats have not figured out how to sit on the buttons and flush it... which I hope they never do! That would make the savings go right down the drain.
Once I got the old toilet out, I discovered that the toilet flange had been glued onto the outside of the pipe and had been slowly leaking water into the subfloor. So the flange was cut off (thank you to the MoS and his zip cut), the two layers of old vinyl tiles pulled up, only to discover that the subfloor was OSB, which is totally inappropriate for a bathroom floor. Whoever had installed it had nailed it to the floor boards with a zillion (what looked like roofing) nails. It took me a whole day to pry all that crap out of there! (See why I was tired?)
Proper plywood was glued and screwed, and the toilet flange replaced with one that goes inside the pipe and is properly glued in place and screwed to the floor (and level).
I pulled out the sink and vanity... which was an adventure too. The sink is one of those big old ceramic things that originally had the two chrome legs supporting the front, with the back screwed to the walls (into the wall studs). Someone had decided (probably in the late 70s or early 80s from the style of it) that a vanity would be nice, so they put in that little number you see in the photos. I don't know why they had to change up the plumbing, but in doing so, they ran the p-trap and drain pipe down through the heating duct, literally cutting a hole in the duct work in the basement. Needless to say, it is still that way but when I do the bathroom expansion, that will all be changed! And the p-trap was shoved into the drain pipe and a bit of ABS solvent slopped around the outside.

Which meant that when I put the sink and vanity back in place, the p-trap just fell off. This was 5:00 p.m. on a Saturday, so I went to the hardware store, got a small jar of the appropriate solvent and quit for the night... but glued it together properly the next morning and it is now a very solid connection. And the old cast iron drain pipe, which still connects to the stack and was only plugged with a wad of (very old and crumbly) newspaper, is now sporting a nice white plastic cap. I sure don't want sewer gas seeping into the bathroom!
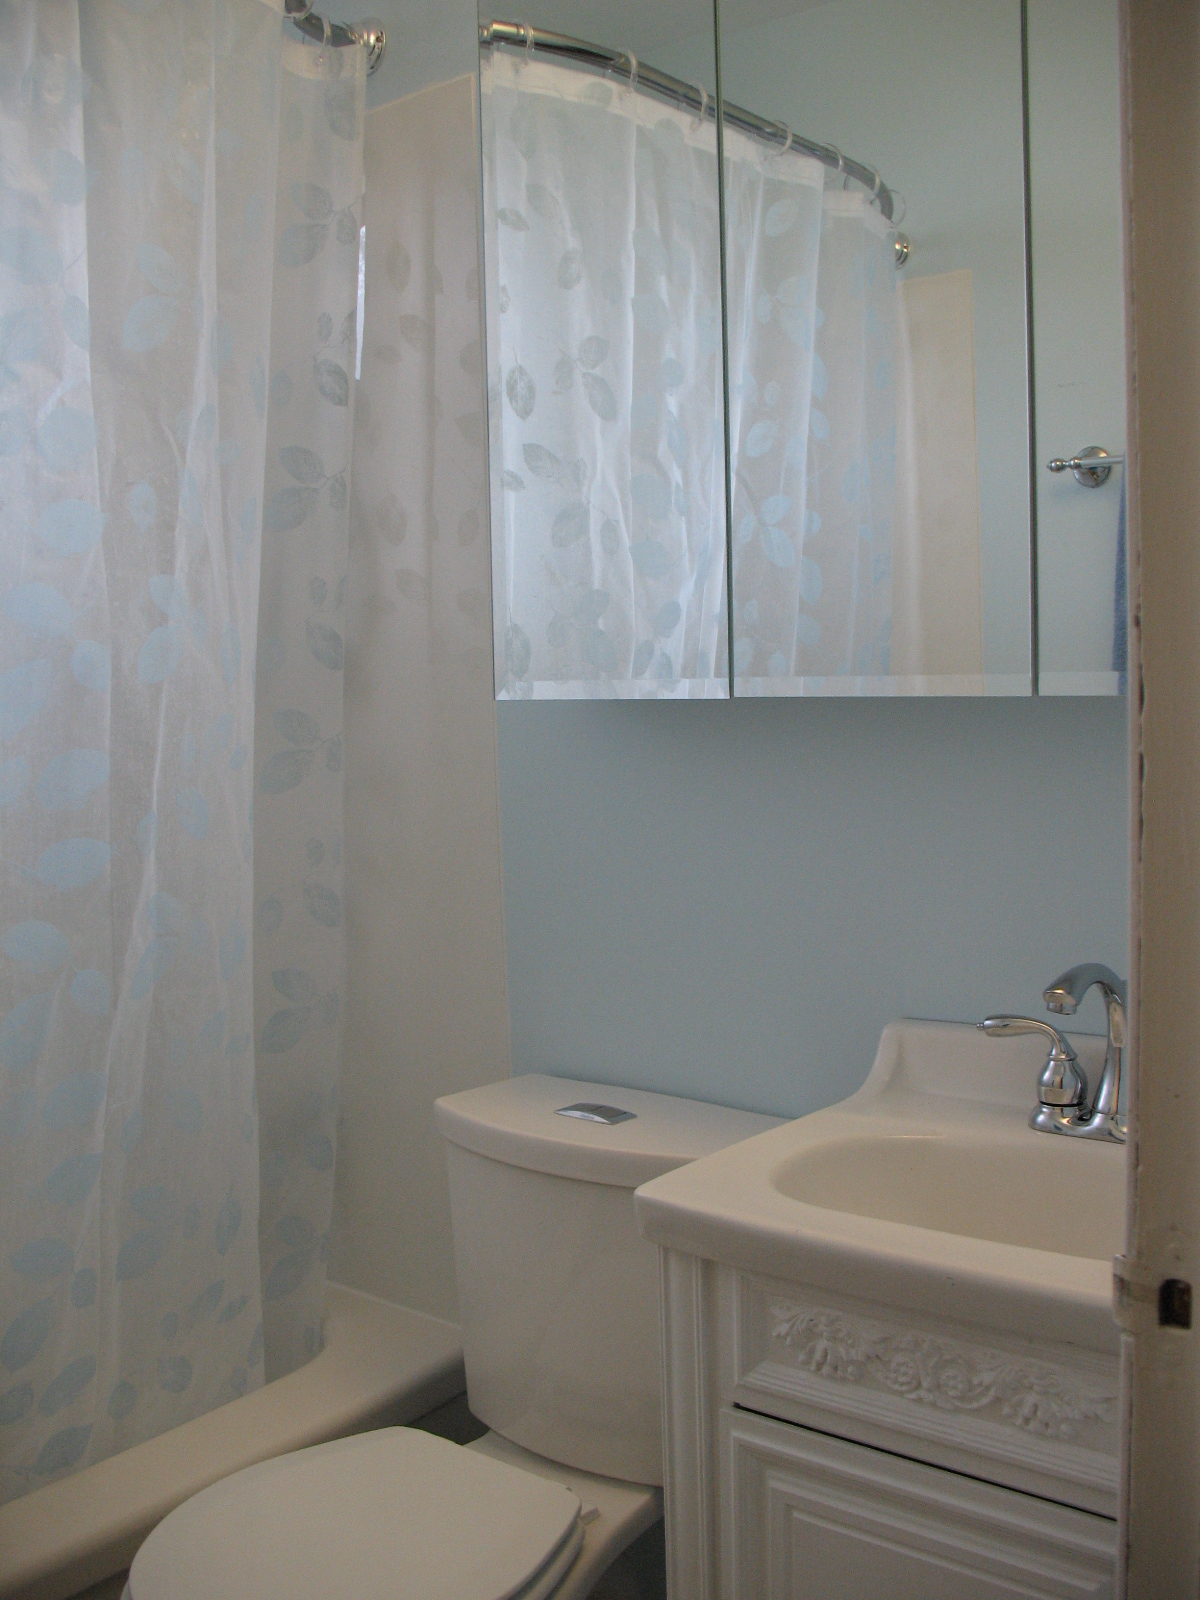
 But before putting the sink, vanity and toilet back in, I replaced all the drywall that was rotten, taped and mudded it all, and tried to remove the glue that the barker board had been put up with. Since that turned out to be impossible, I used the drywall compound to cover and smooth the walls. I then painted everything first with primer and then new paint. The old colour was kind of a mushroom colour, including the ceiling, which was waaaaayyyy too dim for such a tiny space! The ceiling is now white, and the walls a very pale blue. All the fixtures are white and all the metal bits are shiny chrome.
Once all the painting was done, I cut and glued down the vinyl flooring and let it set fort 24 hours. This past Sunday, the MoS and I spent the afternoon putting in the tub surround. I have now completed the caulking of all joints and seams on the tub surround and installed a curved curtain rod.


See the difference for yourself!! And don't peek while I hop in for a nice long, hot shower... ahhhh.